So, what are these things? Well, 3-part cards are actually inspired by Montessori style teaching. Actual Montessori 3-part cards are typically a bit more complex, preferring photographs over illustrated images and mounting the cards on color coordinated paper according to subject matter. Even without these aspects, they are still a great teaching tool. 3-part cards are intended to facilitate word recognition, a sort of extension to sight words or, they may be made with sight words. The idea is to match the words with their associated image and help youngsters learn the word by sight, also called whole word recognition. It is an early reading skill for children. This is done in a gradual process by starting with a combination card of both the picture and word and matching it to the individual pictures and words. With repetition and practice, kiddos will eventually learn what each word looks like and will no longer need the combination card to match the images to the words.
 So, once you know what they are and how they are used, preparation seems much less daunting. For this guide, I'm using my Snowflake 3-Part Color Cards which were the Facebook Fan Freebie for January. These cards help with learning the basic color words. First print your cards, preferably on card stock. You'll notice that one page has a black line separating the image from the word, this is the card you will cut in two along the line. The other card without the line stays as is; you just cut around it.

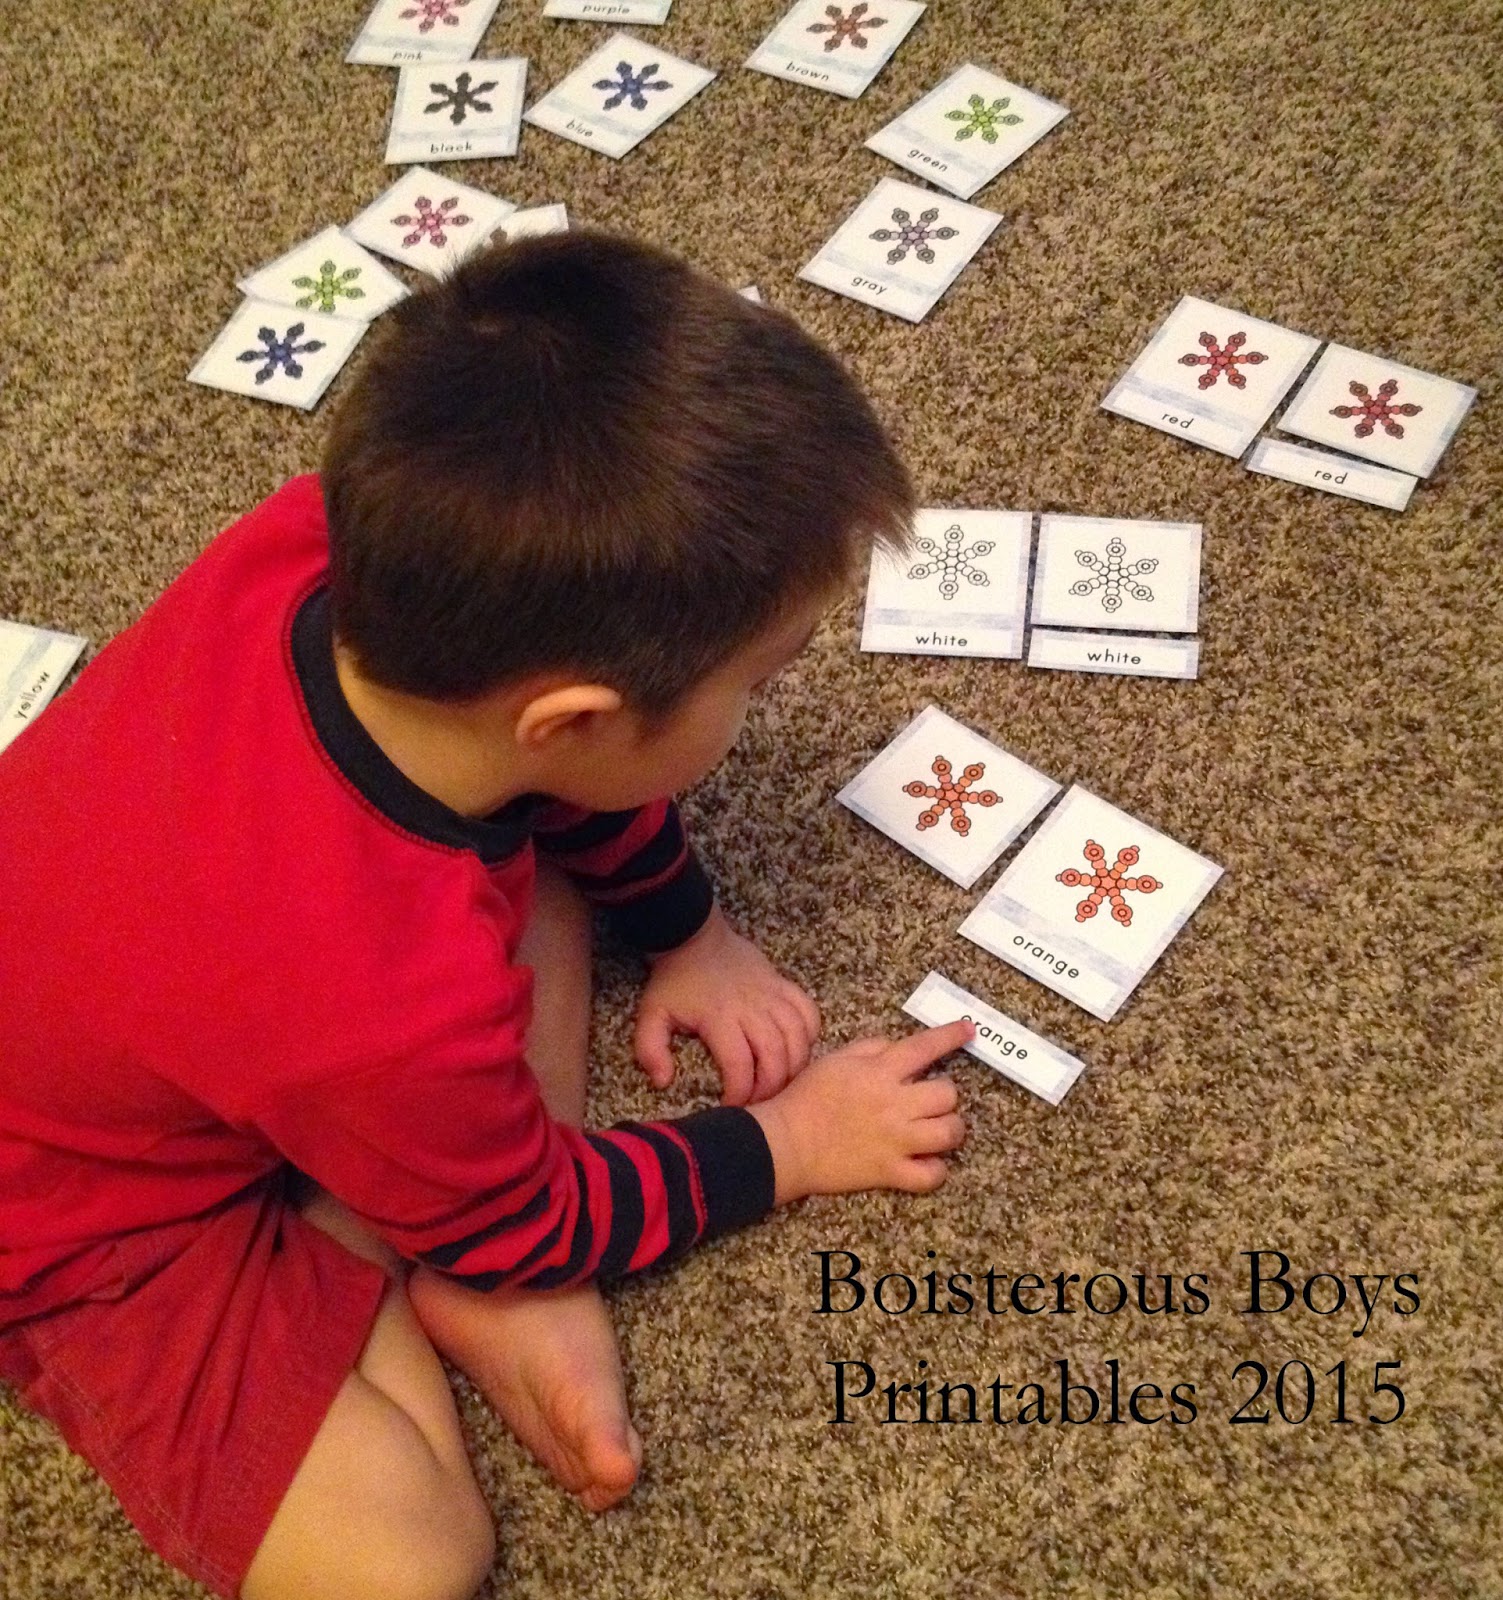
Your child can then get to work matching the cards. I just spread them all over the floor and let my kids have at it. We don't go in any pattern, but you can put all the combination word/image cards in a row and separate the word cards and image cards in their own groups or rows. You can work on alphabetizing them, etc. Basically, anything you can think of, go for it. The idea is, after working on these over time, your child will learn to identify the word that goes with each picture without using the combination card.

This set focuses on the colors and their names. I have done other similar 3-part color cards with various themes to coordinate with several of the packs I have done. This adds a bit of a change, but also allows your child to make the associations with other things. I created a set with colored gingerbread men for one of my Christmas packs. Shown here, I have a set that goes with my Back to School pack. In addition to different themes (snowflakes, gingerbread men, crayons, etc.), you may also notice that I've used different fonts for different sets. While I often like using a basic font with standard version of the letters, I also like to mix it up a little to help kiddos recognize the letters when they are written a bit differently. With several letters like 'a' and 'g' having alternate styles, it helps with letter recognition if little ones see them in action.
 Colors certainly aren't the only use for these cards as you have probably guessed. They can be used for any number of things. While colors are one of my favorite uses for these cards, I also have made multiple number sets to help my kids start recognizing their number words. Here is the set included in one part of my Sailboat Pack.
One last thing: storage. I keep my 3-part cards in individual baggies. They get stored with many of the other printable manipulative activities we've done. It's not the most organized system, and I hope to improve upon it, but it works for now.
Thanks so much for checking out how to use these cards and a peek at how they work in action! Please let me know if you have any questions!

